
Building a longrifle stock is both a technical process and a craft rooted in tradition. The finishing stage is where the wood’s natural character emerges, transforming a shaped blank into a piece that reflects both skill and style. The right finish protects the stock from wear, brings depth to its grain, and complements the rifle’s overall design.
This guide focuses on three classic American stock woods: cherry, walnut, and maple. Each responds differently to finishing methods, requiring an understanding of grain structure, figure, and natural color. You will find both historical techniques that preserve period authenticity and modern approaches that allow greater control over tone and contrast. Whether your goal is to replicate the look of an original longrifle or to adapt the style to personal preference, these instructions will help you choose and apply a finish that brings out the best in the wood and will last for generations.
Understanding the Woods
Before choosing a finish, it is important to understand the natural color, grain, and working properties of each wood. Each species responds differently to stains, oils, and chemical treatments. Knowing these differences will help you select the right process and avoid unwanted results.
Cherry
- Fine, closed grain; naturally develops richer color with age.
- Responds well to simple finishes, with minimal preparation beyond sanding
- Best suited for finishes that highlight its natural warmth.
Walnut
- Naturally rich in color, open grain adds texture and depth.
- Can be left unfilled for a rustic look or filled for a refined, smooth surface.
- Works well with finishes that emphasize natural contrast.
Maple
- Light base color with a figure that benefits from contrast enhancement.
- Responds strongly to chemical staining for depth and definition.
- Ideal for processes that highlight curl or other figure patterns.

Choosing a Historical vs. Modern Approach
Finishing methods for longrifle stocks fall broadly into two categories: traditional processes that replicate period techniques and modern methods that offer greater control and variety. Historical approaches rely on natural materials and the passage of time to develop character. For example, cherry and walnut were often finished with oil alone, allowing sunlight and use to create a deep patina. Maple was most commonly treated with iron nitrate to bring out the figure, producing a warm, aged look that changes subtly over decades. These methods are valued for authenticity, durability, and their connection to the craft’s history, though they offer less precise control over initial color and contrast.
Modern techniques provide more flexibility. Aniline dyes, tinted fillers, and other chemical treatments can adjust tone, enhance figure, or even replicate the look of well-aged wood in a matter of hours. They allow builders to compensate for variations in wood color or grain and to meet specific user preferences. However, they may not age exactly like period finishes and can produce effects that appear less traditional if used incorrectly.
Many builders choose a blended approach: starting with a historically accurate process to establish the foundation, then applying subtle modern adjustments to fine-tune the final appearance without losing the stock’s traditional character.
Surface Preparation for All Woods
Proper surface preparation is essential for getting an even, attractive finish on any stock. If the surface is not prepared correctly, stains and oils will not penetrate as intended and the final appearance will suffer. Your goal is to create a clean, smooth surface that is ready to accept the chosen finish while preserving edges and details.
Work carefully and take your time. Avoid sanding so aggressively that you round edges or blur carvings. Keep the surface clean at each stage so no dust or debris becomes trapped under the finish. Always prepare the stock in a well lit area so you can see scratches, tool marks, or other imperfections before moving forward.
Quick Steps for Proper Preparation
- Scrape or sand the stock until the surface is smooth and even.
- Raise the grain by wetting the surface with clean water.
- Allow the stock to dry completely, then sand lightly.
- Repeat the grain raising and sanding process two or three times.
- Remove all dust with a clean cloth or vacuum before applying the finish.
Following these steps will ensure that the surface is ready to take stain or oil evenly, bringing out the best in the wood.

Finishing Cherry
Cherry has a natural ability to darken over time when exposed to sunlight. This gradual change can transform a fresh stock from a light blond or pale red to a deep, rich reddish brown. Historically, cherry was often finished only with oil, allowing this natural process to take place without the use of stains. If you want historical authenticity, you can simply apply a quality oil finish and let time and light create the final color.
Freshly cut or shaped cherry can vary widely in its starting tone. Some pieces are naturally rich and dark, while others can be much lighter and more pale. This variation means you may wish to adjust color before applying finish, especially if you prefer to avoid the look of a light, freshly made stock. For those who want to influence the color immediately, high quality aniline dyes are an excellent option. Colors such as a dark vintage maple tone can add depth and warmth to cherry without overpowering the grain. These dyes give you more control over the starting appearance, and unlike chemical stains, they allow you to preview the color on a test piece before finishing. Avoid using iron nitrate on cherry, as it tends to turn the wood very dark—almost black—and hides its natural character.
Another popular modern approach for deepening color quickly is a lye treatment. This can be done with pure lye or with oven cleaner products that list lye as an ingredient. The chemical reaction with the wood’s tannins produces a deeper, darker red. If using this method, apply the lye evenly, allow it to work briefly, then rinse thoroughly to remove all residue. Always use proper safety measures, including gloves and eye protection.
Cherry is typically tight-grained and does not require grain filler. Most builders simply apply multiple coats of oil, allowing each coat to soak in and dry before the next. Expect five to six coats to produce a smooth, protective finish. Once complete, placing the stock in natural light will accelerate its gradual, natural darkening, creating the warm appearance that makes cherry a classic choice for longrifles.
Quick Steps for Finishing Cherry
-
Decide on your approach
- For historical authenticity, use oil only.
- For immediate color adjustment, choose a suitable aniline dye.
- For rapid darkening, use a lye treatment.
-
If using dye
- Mix and apply evenly with a clean cloth or applicator.
- Wipe off any excess to avoid uneven color.
-
If using lye or oven cleaner
- Apply evenly across the stock surface.
- Let it react briefly with the wood’s tannins.
- Rinse thoroughly with clean water to remove all residue.
-
Apply oil finish
- Use five to six coats, allowing each to soak in fully and dry before the next.
- Lightly buff between coats for smoothness.
-
Encourage natural aging
- After the final coat, place the stock where it will receive natural light.
- Over time, the color will deepen and develop character.
Finishing Walnut
Walnut is naturally rich in color and has long been prized for its depth and warm tone. It typically ranges from medium to dark brown, with good contrast between earlywood and latewood. This natural beauty means it often requires little more than a well-applied oil finish to bring out its character. Historically, walnut stocks were finished without stain, relying on oil to enhance the grain and protect the wood.
While many pieces of walnut are already an ideal color, the wood can also vary. Some stocks may be lighter than desired or have a slightly more open grain. In these cases, you can make subtle adjustments to both color and texture before finishing. Aniline dyes offer a straightforward way to deepen tone and create a more uniform appearance without obscuring the natural grain. Testing on a scrap piece is recommended to see how a specific dye color reacts with your stock.
Walnut’s grain structure can range from fairly tight to moderately open. A more open grain can give a slightly rustic look, which many builders prefer for certain rifle styles. If a very smooth, glass-like surface is desired, you can fill the grain before applying the final finish. This is an optional step and was not common historically, but it can be worth considering for a more refined appearance.
There are several ways to fill walnut’s grain:
- Slurry method: Apply finish to the stock, then sand lightly while the surface is still wet. The resulting mixture of oil and fine sanding dust is worked into the pores, allowed to set, and then lightly sanded or rubbed back.
- Commercial paste fillers: Products like Constantines Paste Filler (traditionally available in black or dark brown) can be worked into the pores and then removed from the surface, leaving a level, smooth texture. Tinting powders such as bone black can be added to achieve the desired color.
- Spray paint method: Some builders use flat black spray paint after a sealer coat to fill pores, sanding it back once dry so the paint remains only in the pores. This is unconventional but effective for certain looks.
Whether you choose to leave the grain natural or fill it for a smoother surface, walnut responds beautifully to multiple coats of oil. With care, it will display a deep, warm finish that improves with age.
Quick Steps for Finishing Walnut
-
Assess the wood
- Decide if you want to keep the natural tone or adjust the color with dye.
- Examine the grain to determine if filling is needed for your desired look.
-
Test your approach
- Use a scrap piece to trial any dye or filler.
- Select an aniline dye that complements walnut’s natural warmth if adjustment is needed.
-
Optional: Fill the grain
- For a rustic look, skip filling entirely.
- For a refined surface, choose the slurry method, a tinted paste filler, or the spray paint method.
-
Apply the oil finish
- Use five to six coats, letting each soak in fully and dry before the next.
- Lightly buff between coats for smoothness.
-
Final touch
- Once fully cured, walnut can be gently polished to enhance sheen.
- Over time, the color will deepen naturally with exposure to light and handling.

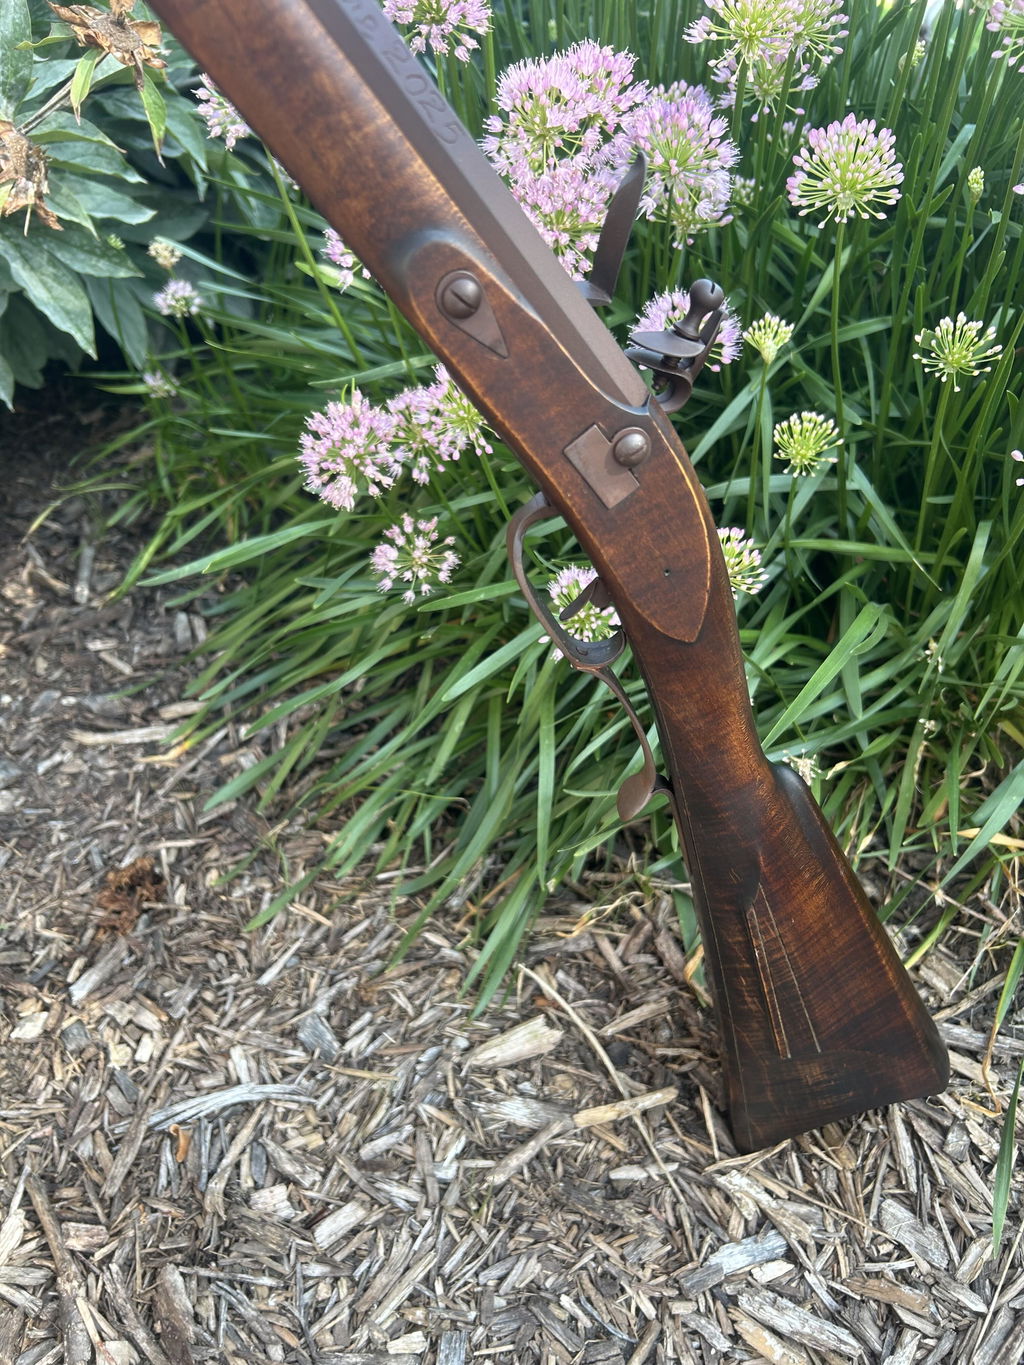
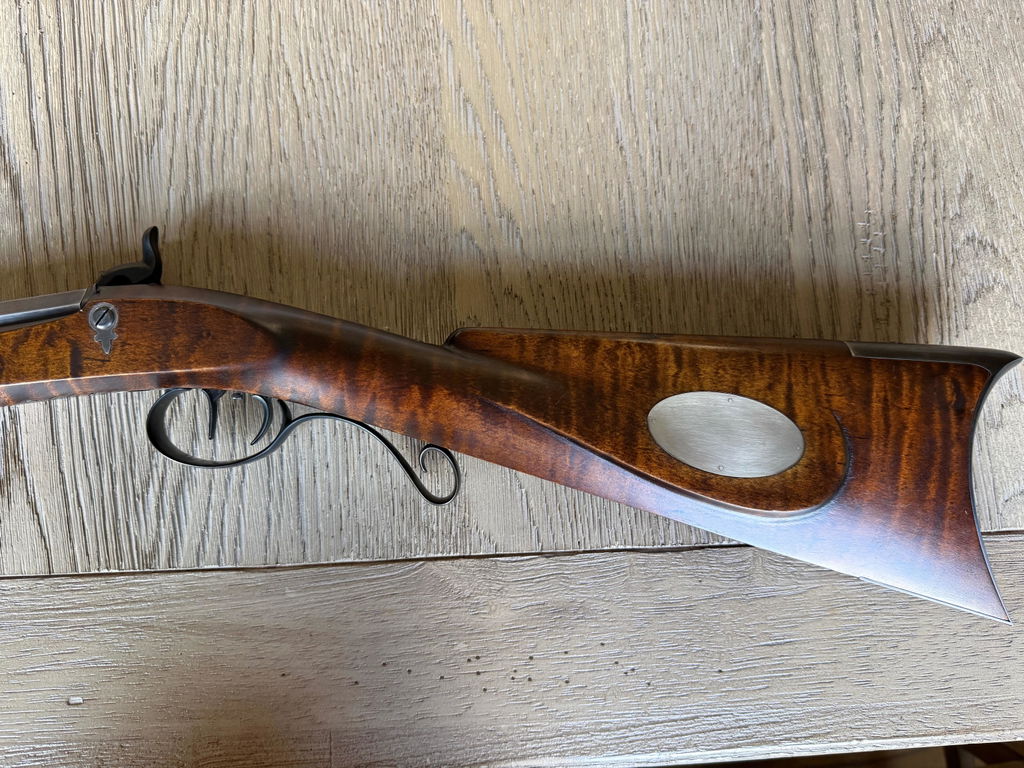
Finishing Maple
Maple is one of the most versatile woods when it comes to finishing options, with a variety of traditional and modern approaches. The most widely used and historically common method is staining with iron nitrate. This process reacts with the wood to produce a rich, warm color that brings out the natural figure in maple.
For those seeking more dramatic contrast in curly or figured maple, tannic acid can be added. When tannic acid is applied before or after iron nitrate, it reacts to form iron tannate — a deep black compound historically used in ink making. This settles more heavily into the curl, increasing visual depth and contrast. The effect can be adjusted by sanding or rubbing back after staining to lighten the spaces between stripes.
Tannic acid will darken the wood significantly and reduce the warm amber and red tones iron nitrate alone can produce. To restore warmth, many builders follow with an amber dye such as honey amber TransTint, applied before finishing or mixed into the oil finish. This allows fine control over the undertone and can create either a richer traditional look or a more aged effect depending on preference.
Historically, a few alternative finishes were also used. In some regions, violin varnish–style colored finishes were applied, with pigments or natural colorants such as madder root or dragon’s blood mixed directly into the finish rather than staining the wood. Some builders used light-colored oil finishes, often linseed oil with pine tar and turpentine, to create a softer butterscotch tone. Modern builders sometimes choose aniline dyes either on their own or to adjust the tone of iron nitrate. While aniline dyes can give pleasing results in experienced hands, they can appear flat or artificial if not layered carefully.
Quick Steps for Finishing Maple
-
Assess your desired look
- For a traditional, historically accurate finish, use iron nitrate alone.
- For stronger curl contrast, add tannic acid before or after the iron nitrate.
- Plan to use amber dye later if tannic acid cools the tone too much.
-
Prepare the surface
- Sand or scrape smooth, then raise and sand the grain two or three times.
- Remove all dust before staining.
-
Apply tannic acid (optional)
- Apply evenly and allow to dry completely if using for added contrast.
-
Apply iron nitrate
- Coat the surface evenly and let sit for 20–30 minutes.
- Heat the stock to develop color and neutralize acidity.
-
Adjust tone if needed
- Rub back lightly to brighten between stripes.
- Apply amber dye before finishing or mix into the oil to restore warmth.
-
Apply the oil finish
- Use several coats, letting each coat soak in fully and dry before the next.
- Lightly buff between coats for smoothness.
Finish Your Stock with Kibler’s Longrifles
At Kibler’s Longrifles, we are committed to helping you create a stock finish that is both historically accurate and visually stunning. Our black powder rifle kits are crafted with precision using modern CNC technology while preserving the details and proportions of original longrifles. Whether you choose to finish walnut, cherry, or maple, each stock is carefully shaped and prepared to make your work easier and more consistent.

We also offer the tools and supplies you need for finishing, from high quality oils to the correct abrasives for surface preparation. Every product is selected to help you achieve a professional result while respecting the traditions of 18th century gunmaking. Explore our online store to get a whole range of gun stock finishing supplies for your next build.
You can visit our YouTube channel to watch detailed demonstrations of finishing techniques. Or join our community on Facebook and follow us on Instagram to see examples of completed rifles and share your own work.

2 comments
Thank you for sharing your finishing process. I am getting ready to finish a curly maple stock, what amber stain do you use? Do you sell it? If so what is the cost?
Thank you
Rick
Where can I purchase tannic acid powder and iron nitrate?
Leave a comment